The Top
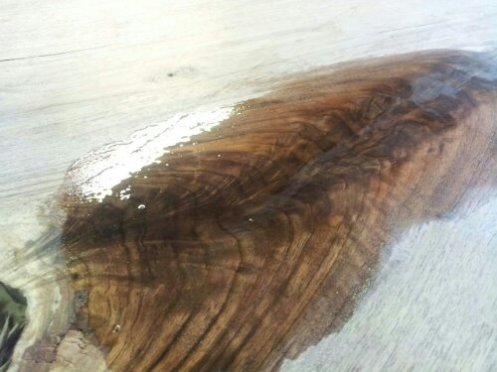
With the design in place, I could focus on the focal point of my piece, the top. I knew I wanted to use walnut, and I was 100% sure I wanted the crotch. The crotch is where the tree splits off in two directions, almost like a “V”. This seperation yeilds some of the most beautiful and interesting grain patterns, something I knew I wanted for my design.
Having an idea of what I was looking for, I knew the exact place where I could find it!
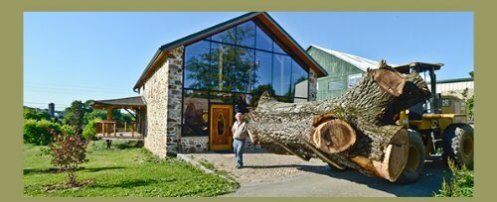
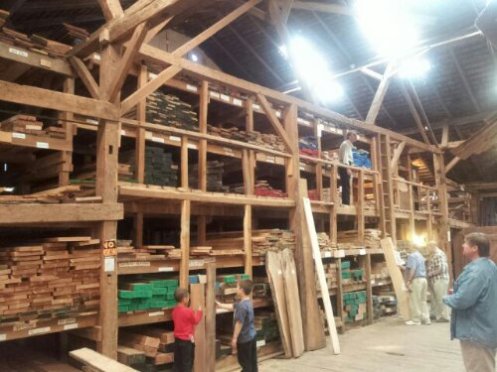
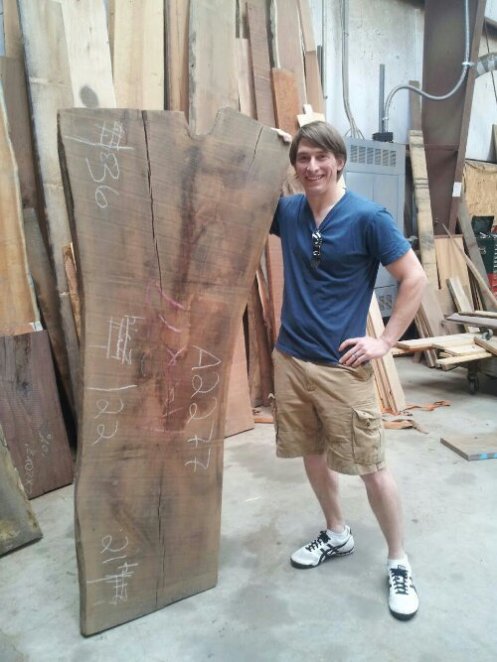
So in late May, with my wedding anniversary right around the corner, my wife said she would make the 80 mile drive with me so that I could pick my anniversary gift! If you’ve never been to Hearne, its worth the drive! They have an incredibly helpful staff that answered all the questions I had and were very patient while I carefully made my selection. After an hour and a half of looking, I setteled on one of the first pieces we had looked at!
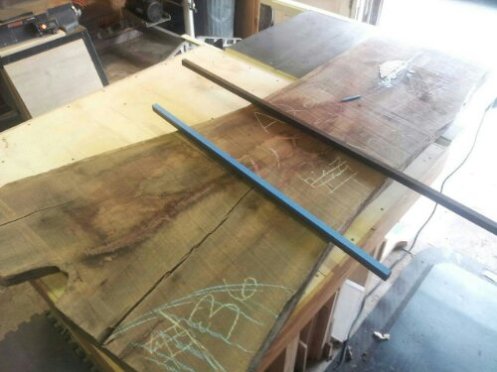
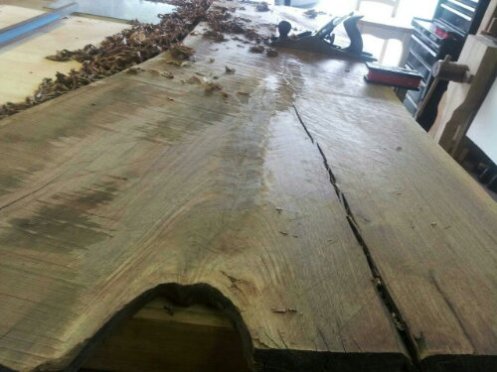
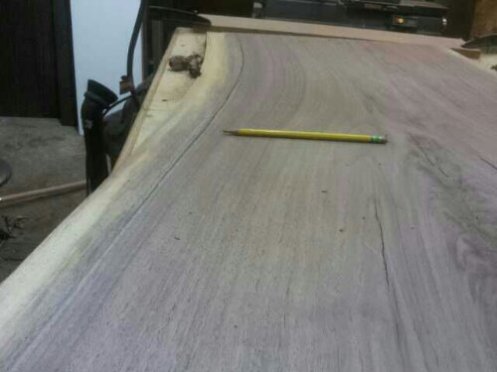
Unfortunately the build was put on hold for several months while my brother and I completed some high priority projects. It wasn’t until October that I was finally able to begin flattening and shaping the top. I began doing this the hard way….with hand planes and winding sticks.
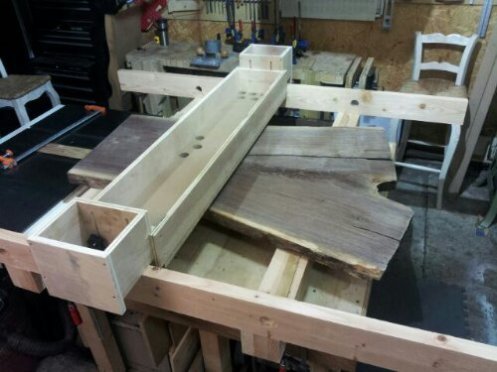
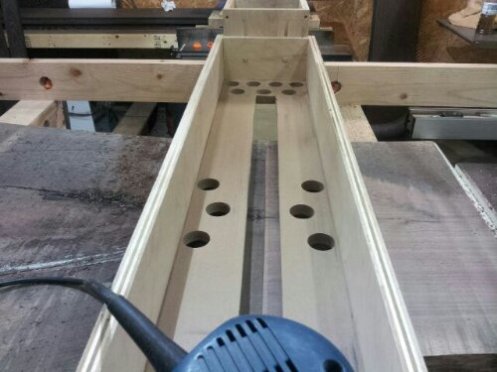
I wasn’t able to accomplish much except for building up a sweat. I wanted the top of the walnut to be dead flat and the underside to taper from one end to the other. This would have been hours, no, DAYS of work to complete, so I decided to build a router sled. I used the article by Nick Offerman in Fine Wood Working, it was cheap and a hell of a lot easier than taking the galoot route.
I cut the slab from 6 feet down to 4 feet and from there it was simply pushing the router back and forth in the sleds trough.
I highly recommend this set up if you work with a lot of slabs.
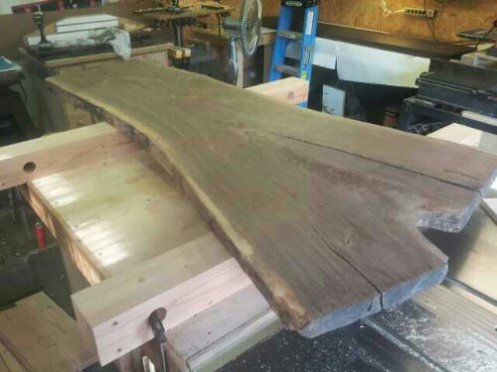
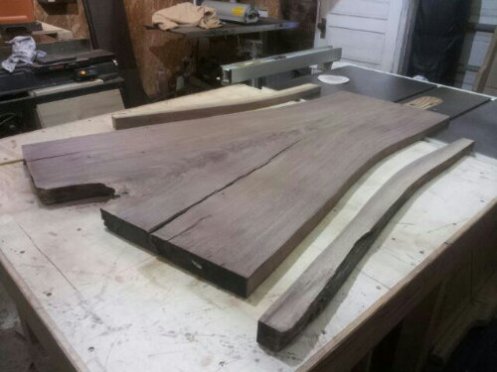
With the top flattened and the bottom with a nice long taper on the underside I turned my attention to the edges. I didn’t like the look of the sap wood at the edges and there was also some rot, this made my decision of cutting the sides a no brainer. I made the cuts with my jig saw, following the path of the grain to keep the organic feel of the piece.
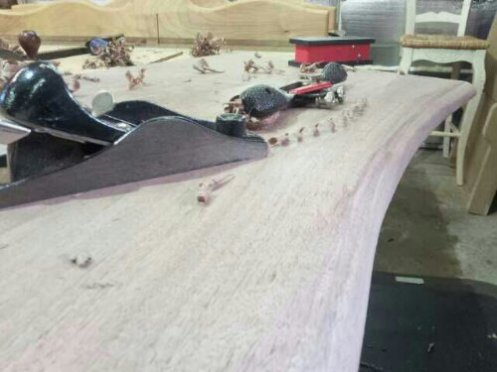
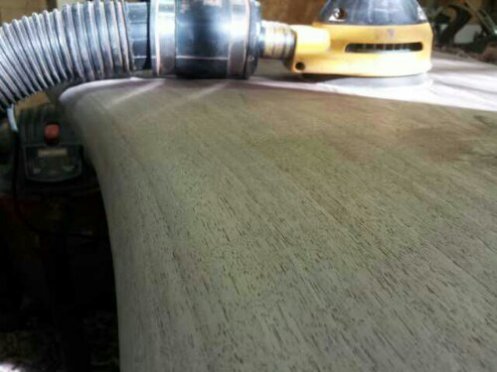
With the sap wood and rot cut off I could move to shaping the underside profile which I wanted to be a large round over. Not having a massive router bit, or a solid, straight edge to reference off of, this was all done by hand. I was s able to do the majority of the work with my block plane/spokeshave and then smoothed everything out with the random orbit sander.
The only work left with the top is the butterfly keys, which I’m putting a little spin on…
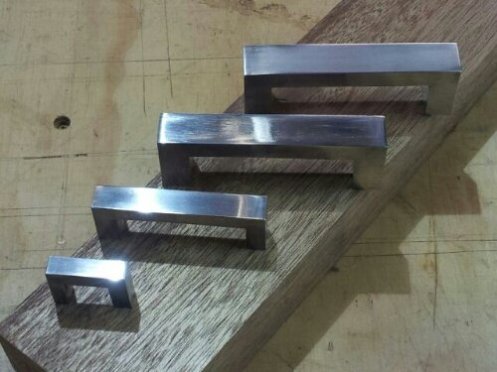
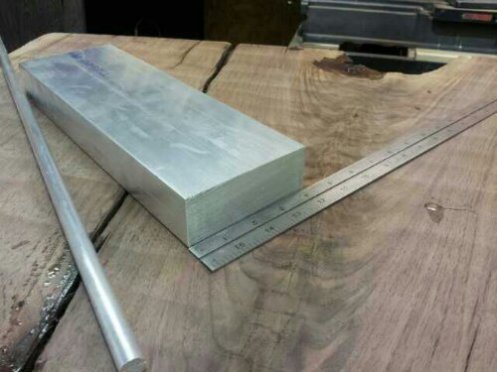
Aluminum staples that I cut on my band saw from a solid bar.
I still have tons of polishing to do, to get them to the mirror fininsh that I’m looking to obtain.
With the top as far as I can get it, it was time to start thinking BENT LAMINATION…….but that’s for next time!


The table is coming very well! I love that you are following your gut!
Thanks Vic! I’ve also had some invaluable help from the community and my brother who have helped me hash out all (I have a lot) of questions and concerns with this piece!
Brian,
Nice recap… I’d forgotten how you’d gotten to where you are currently in the build.
Chris
Yes, this is anything but a spur of the moment build. Although there is still TONS of work left to be done, im starting to get the feeling that this may be a defining piece in my woodworking career. I really owe alot of credit to woodworkers like you, Vic, and Nick R. Back at the design phase, you guys were there to help guide me through the process. I can not thank you all enough!
Love the sled and can’t wait to see those butterflies in place. Nice touchQ
Thanks Chris! I’m actually working today on installing the lead counterweights.
Sorry, you said sled! Yes, the router sled is just awesome!